To fix that issue, one thing you can do is increase the thickness of the cursor. Here’s where to find the setting and help make the cursor easier to see.
Increase Cursor Thickness in Windows 10
Open the Settings app (Windows Key + I) and head to Ease of Access > Other Options. Now in the Visual Options section at the bottom, you’ll find a slider for cursor thickness. Just slide it higher or lower to get it to where you like it. You can move it between 1 all the way up to 20.
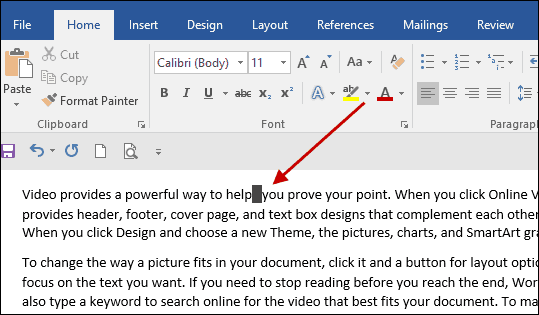
Here’re a couple of examples of how the cursor will look. First, in the shot below the cursor is set to the default size in a Word document.
In the shot below I increased the thickness up to 10. As you can see, it’s much easier to see and locate the cursor.
The cursor won’t just be larger in documents either. It will be the increased thickness you selected throughout the OS. Actually, stay tuned and check us out tomorrow I have something along those lines that might interest you :) And yes, that was a CLASSIC episode of The Simpsons. When I wrote at How to Geek I actually wrote a funny article about that while I was working in IT: http://www.howtogeek.com/79870/funny-only-to-a-geek/ Comment Name * Email *
Δ Save my name and email and send me emails as new comments are made to this post.


![]()
