Once installed, to mount an ISO all you have to do is Right-Click it and then Select Mount… from the context menu. There is also the option to Quick mount, but that lacks all of the features you’ll see below.
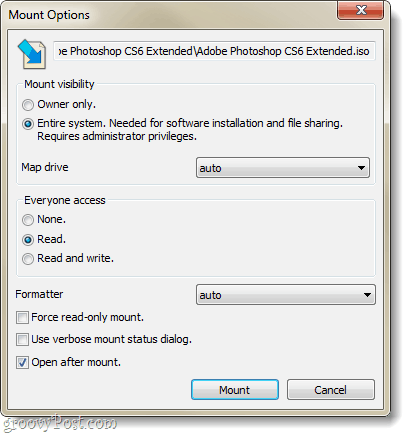
When mounting you’ll be prompted with Mount Options. Here you can assign how limited of permission to grant the mounted object. In order to perform installations, you’ll need to select Entire System. One item down, you can Select which drive letter you would like to assign the mounted ISO, or just set it to auto (or even none).
Once mounted, it will show up on your computer as a Network Location. Your computer will treat this location just like a removable disc.
Want to give it a shot? Download Pismo from their official developer site. For a list of the full features, see this page. Comment Name * Email *
Δ Save my name and email and send me emails as new comments are made to this post.


![]()
