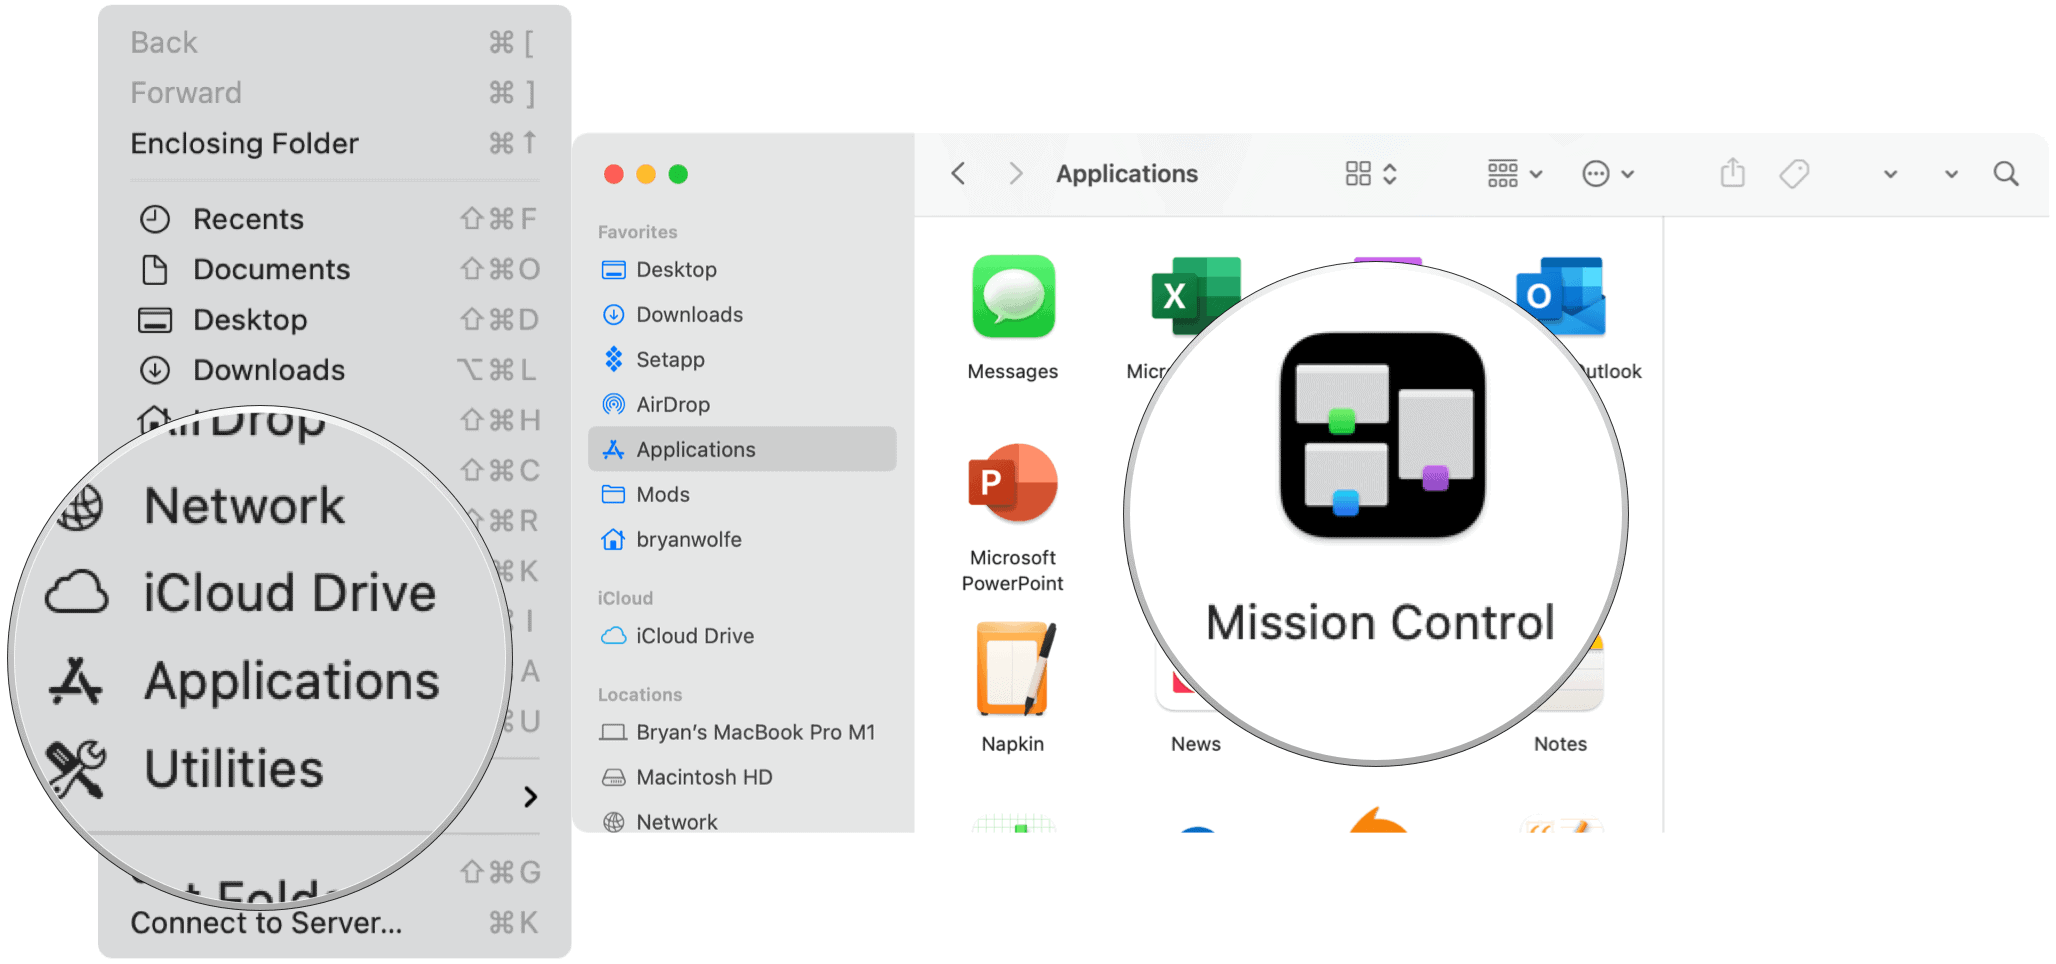
Setting Up Mission Control Spaces
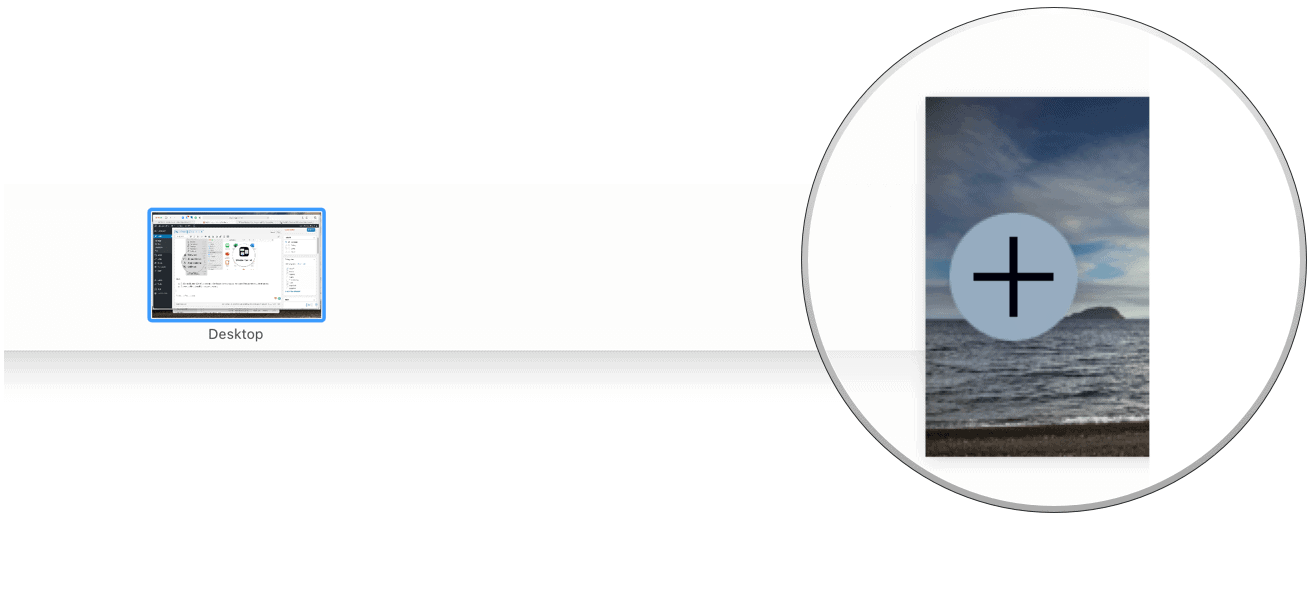
To create a space:
Next:
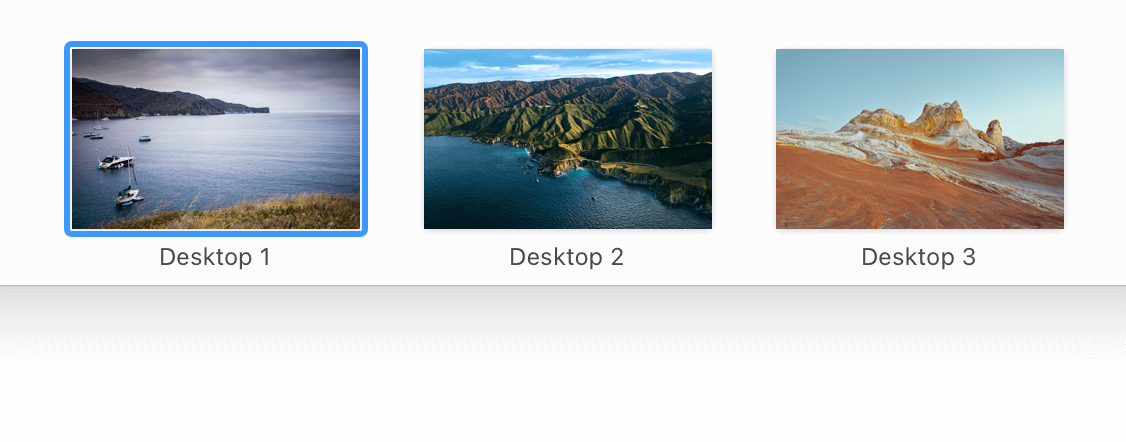
Customize Your Spaces
Apple suggests identifying spaces by using a different desktop picture for each. To do so, change the desktop picture through System Preferences. You can also use a third-party desktop generator like 24 Hour Wallpaper.
Using Mission Control Spaces
You can move between Mac spaces using different methods, depending on the type of computer.
Using a trackpad, swipe left or right using three or four fingers.With a Magic Mouse, swipe using two fingers.On your keyboard, press the Control key and the Right or Left arrow key.In Mission Control, move the pointer to the top edge of the screen, then click a space in the Spaces bar.On MacBook Pros with a Touch Bar, you can adjust the keyboard settings to include spaces. From there, click on a space in the Touch Bar to open the space.
Organizing Mac Spaces
There’s no right or wrong way to use and maintain Mac spaces. When setting up your spaces, always remember the goal is to remove clutter. With this in mind, here are a few suggestions:
Divide your open windows between work and personal apps. For example, one desktop could include Mail, Pages, and Excel, while another could include Music and Safari.Use one desktop for your most frequently used apps and others for the rest.Are you creative? Assign one space for Adobe apps such as Photoshop and Illustrator, leaving the rest open elsewhere.
It’s simple to move open windows from one space to the other. For example, you might want to move an open app to your work or personal screen. To move an open window:
Drag an open window to the edge of the screen (right or left, depending on your setup). The next space is activated in a few seconds, letting you drop the open window in the new space.As another option, you can start Mission Control, then drag an open window from one space to another in the Spaces bar.If you drag an open window onto a full-screen app in another space on the Spaces bar, you can use both apps through Split View.
Assigning Apps to Spaces
You can also take a proactive approach and assign apps to spaces. Every time you activate an app, it’s opened through the assigned space. To do so:
Changing Space Names
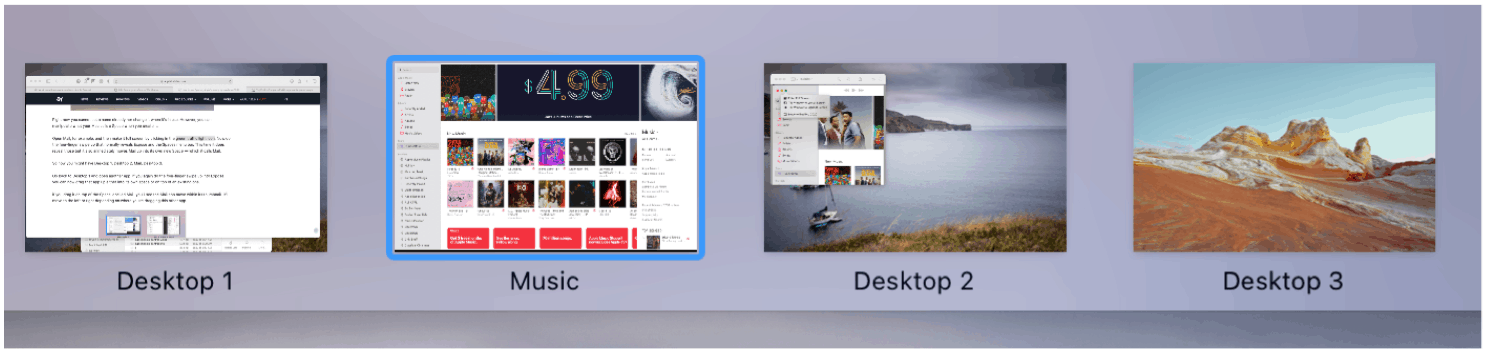
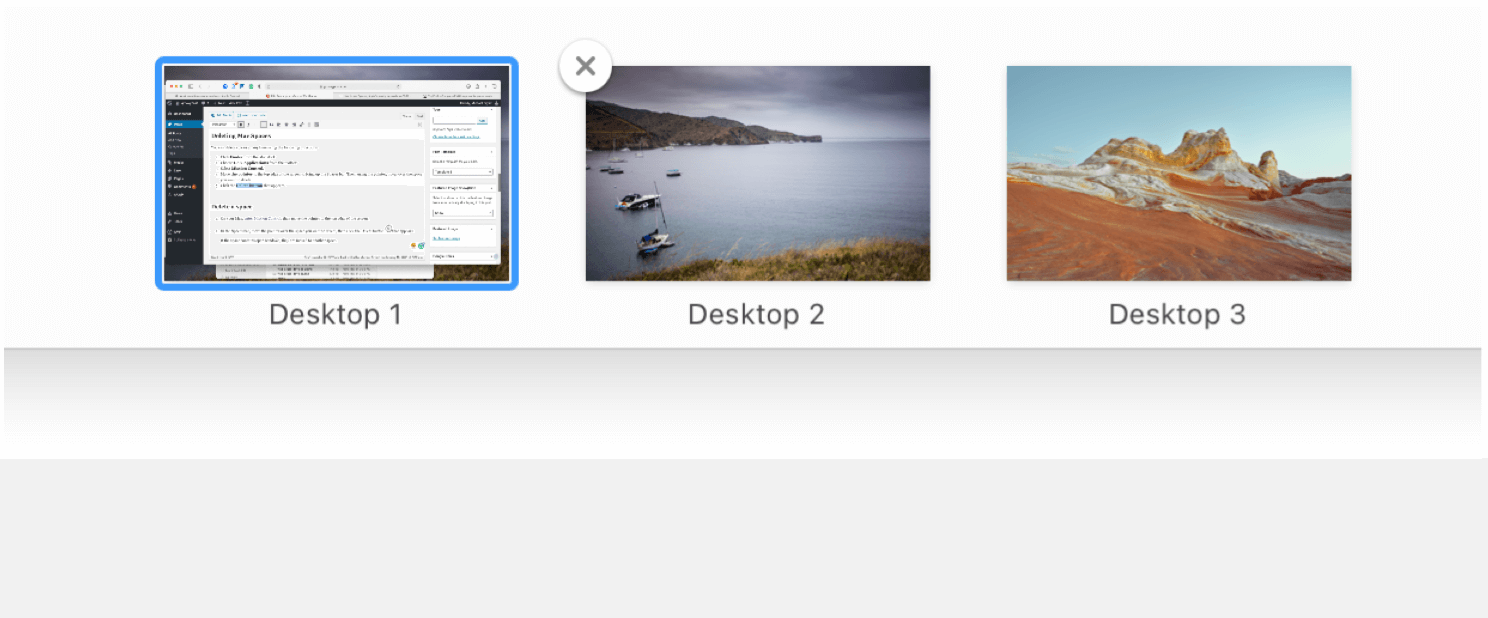
By default, each new space that gets created on your Mac is assigned a new number. For example, Desktop 1, Desktop 2, and Desktop 3. It should be simple to change these names to better reflect what each space contains, such as Work, Music, and Personal. Unfortunately, it’s not nearly as simple as it should be. The only way to bypass the current naming conventions for spaces is to open an app, then make it full-screen, and follow additional steps as shown here.
In the example above, the Music app was used to create a new space called “Music.” Despite the name, the space operates just like any other one; you can open additional apps in the space with no limitations. Once a Mac space gets created, you can’t change its name.
Deleting Mission Control Spaces
You can delete spaces at any time using the following directions:
Note: Any open window from a deleted space moves to another space, if available.


![]()
