The new OOBE is more than a cosmetic update. For one, as we covered earlier, users can modify their Windows privacy options in more detail. Microsoft has made the process more transparent for users who want more control over the information they share with the developers. There are some other changes as well. In this article, we’ll walk through the new setup experience and explain each step.
How to Configure Your Windows 10 Device During the Out of Box Experience – OOBE
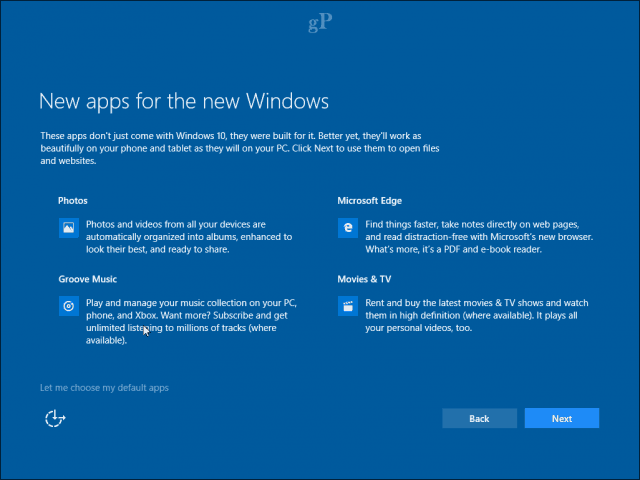
If you perform an in-place upgrade from a previous version of Windows 10, Windows 8, or Windows 7, you won’t see the new OOBE. Instead, you will see a promotional screen informing you about key universal apps such as Microsoft Edge (web browsing), Photos (images), Movies & TV (video), and Groove (music).
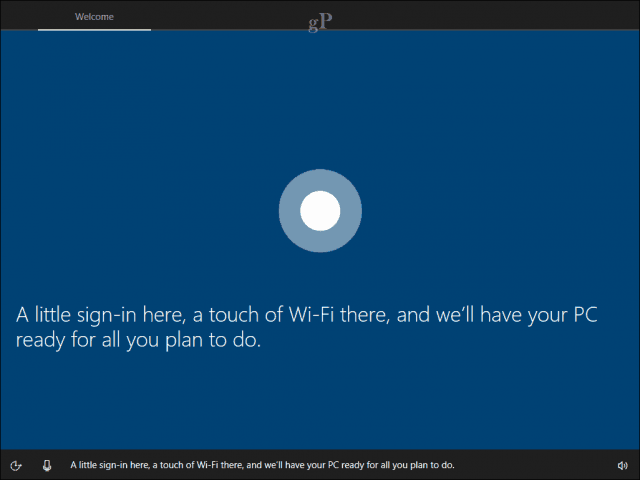
For users setting up a new PC or performing a clean install, you will be greeted by a new, simplified, tabbed interface broken down into four categories: Basics, Network, Account, and Services. You are first welcomed by Microsoft’s digital assistant, Cortana, which accepts voice commands and guides you through the setup process.
Help from Cortana is optional, of course, and you can disable the digital assistant by clicking the microphone icon in the lower left-hand bottom. Additional options are also available for adjusting the volume if needed. I must admit, the new interface looks a bit like a PowerPoint presentation—not that there is anything wrong with that.
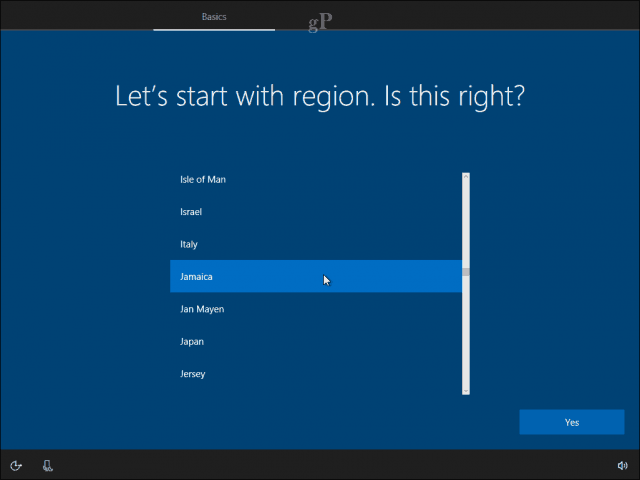
The first screen, called Basics, lets you choose your language and keyboard. You can also select a different keyboard layout if you live in a different region.
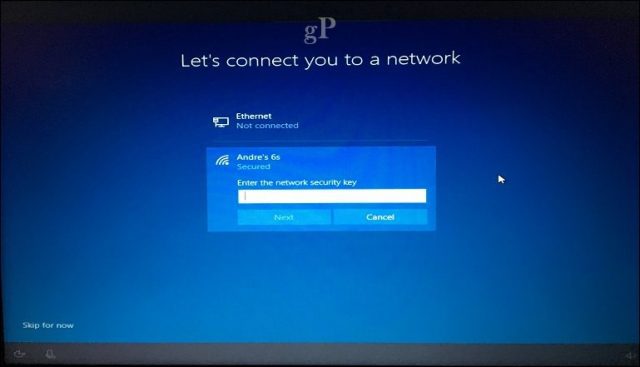
The next screen focuses on connecting to a network. This option will only be available if there is an active connection. If not, click Skip for now. If there is a wireless network, you would like to connect to, select it, click Connect, then enter the password.
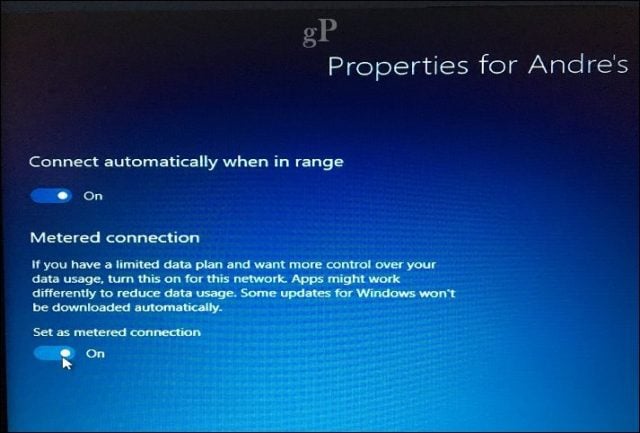
Users who might be on a metered connection would like to avoid depleting their mobile data, click Properties, and then toggle the On button under Metered Connection. Windows 10 setup will use the opportunity to install last-minute updates, so you don’t want to arrive at the desktop without any mobile remaining.
Account Settings
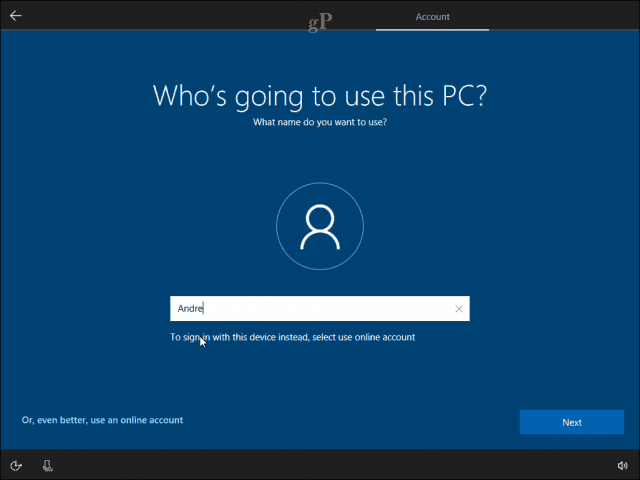
Now we arrive at an important screen: Account. Here you must set up a user name for signing in to the computer and managing its resources. Windows 10 offers two methods of signing in: a local account and a Microsoft account. Windows 10 setup only provides the option to set up a Microsoft Account if you are connected to the Internet. If you are not connected to one, the setup will default to a local account. Local Account – this account works like credentials used to log onto Windows 7 and earlier versions of Windows. A local account doesn’t include the modern benefits of Windows 10, such as PC Syncing, the ability to download apps from the Windows Store, and two-factor authentication. A local account also requires setting up a hint in case you forget your password. Microsoft Account – this type of account uses a Microsoft email address linked with your Microsoft account. Normally, this email address would use the hotmail.com, live.com, msn.com, or outlook.com domains. You can set up Windows 10 with a yahoo.com, gmail.com, or icloud.com address; ensure that your email address is associated with a Microsoft account. A Microsoft Account includes the benefits of keeping files and settings, such as themes, passwords, and apps synced across devices running Windows 10. A Microsoft Account also includes support for two-factor authentication, which prevents hackers from easily accessing your computer. Users can also access services such as Find My Device in case your device gets lost or stolen. The Microsoft Account is also required to download Universal apps from the Windows Store. Reactivation is also easier if you reinstall Windows 10 or transfer your license to another computer.
So, the benefits of the Microsoft Account are significantly advantageous. Whichever option you decide, make sure it’s secure—don’t use names, places, or birthdays as your password. Check out our article for tips about creating a strong password if you need some ideas. One of the common mishaps when setting up your computer for the first time is forgetting the password you created. You can write it down on a piece of paper during setup, memorize it, then destroy it.
Setting up with a Microsoft Account
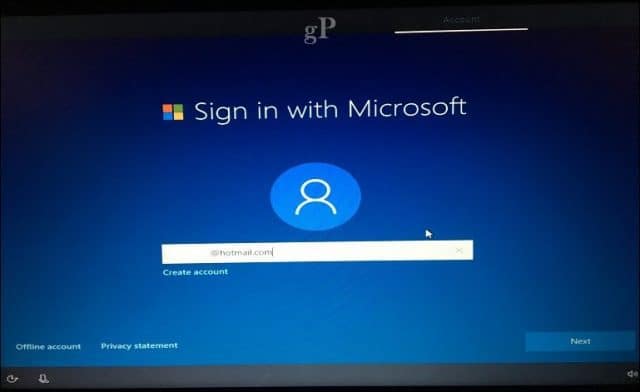
If you have an active Internet connection, Windows 10 setup offers the option to sign in with your Microsoft Account. Let’s perform a quick run-through to see what that’s like. The first screen asks you to enter your Microsoft ID. If you have an @outlook.com, @hotmail.com, @msn.com, or @live.com email address, use that, since you probably already have a Microsoft account. Otherwise, click Create account to set one up.
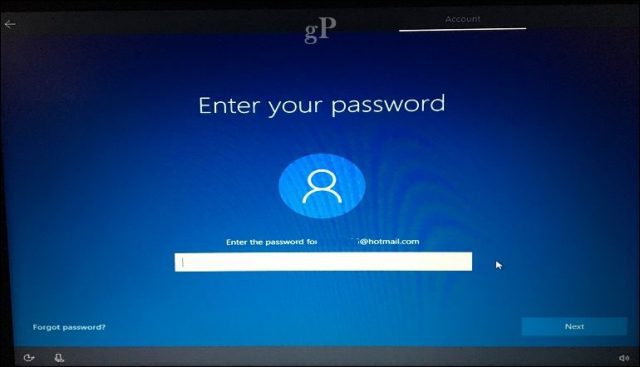
Enter your password, then click Next.
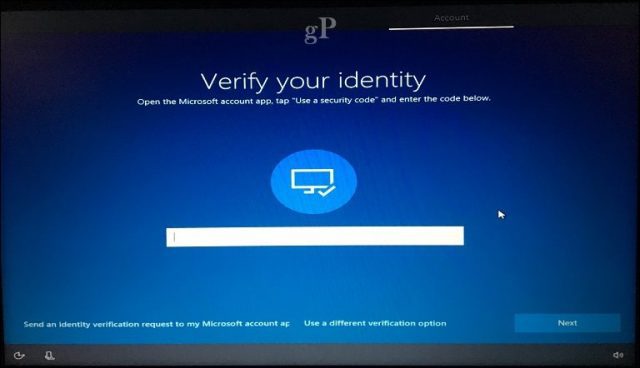
Microsoft accounts configured with 2FA will need to enter a security code for your protection. The Microsoft Authenticator app makes this convenient if you already have it installed on your iOS or Android device. If you don’t have the Authenticator app, you can choose another method. For instance, Microsoft can call your phone, then ask you to press the pound sign to confirm, then hang up.
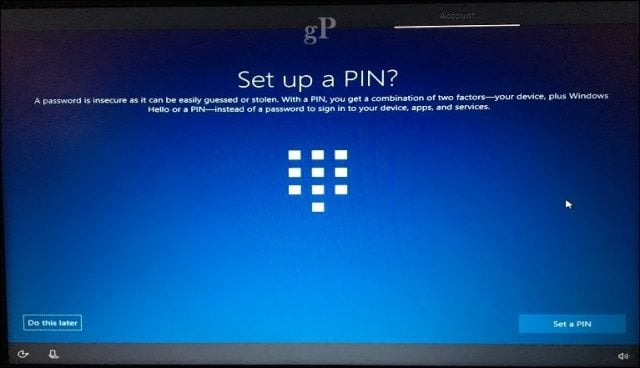
An extra sign-in method offered is a PIN, which uses four numbers for authentication. You can always set this up later from within Start > Settings > Accounts > Sign in options.
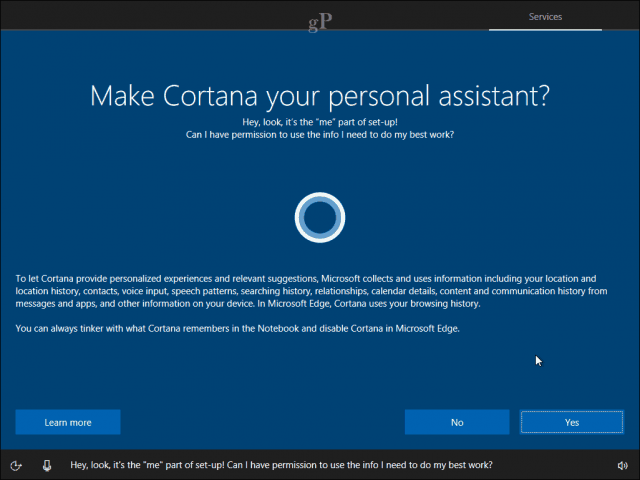
We now arrive at the Services screen; this is where you get to enable Cortana and adjust privacy settings. Cortana is a major part of Windows 10; it’s not required but definitely differentiates the operating system from previous releases. If you choose to enable Cortana, you can activate her by saying, ‘Hey Cortana.’ Cortana will respond to your every command, such as checking the weather, scheduling a reminder, finding the name of a song, adjusting the volume, or telling a joke.
Privacy Settings
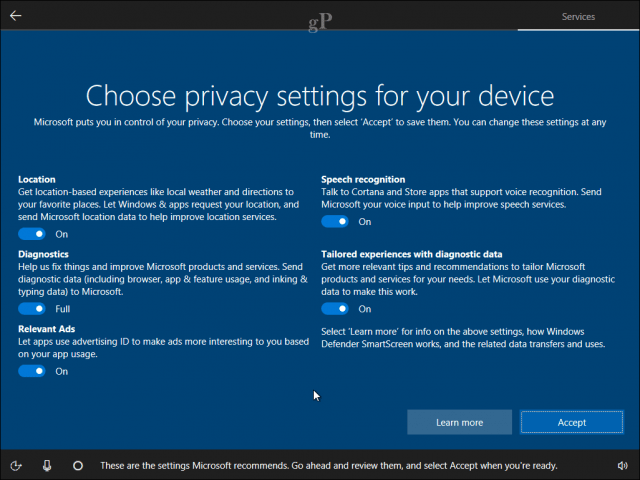
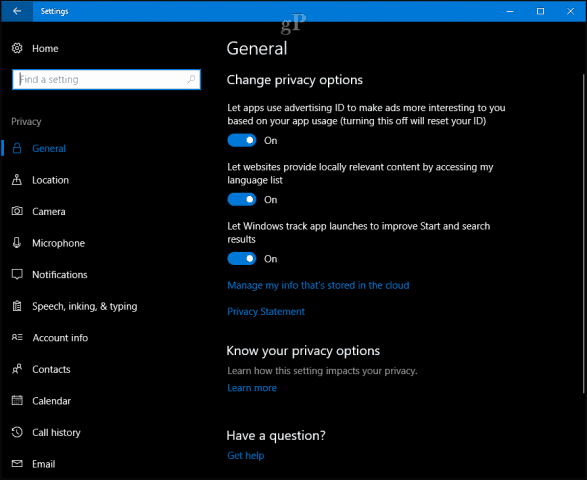
The privacy screen presents a list of default options selected. Some of these are essential for making your Windows 10 experience even better. For instance, Location can help Cortana tell you directions. Diagnostics can be an important part of helping to improve the apps you use in Windows 10. Some settings can be turned off, such as relevant ads and tailored experiences. If you want more details about each, click the Learn more button. When you are ready, click Accept. Windows 10 will then confirm your settings then perform a few last-minute chores such as checking Windows Update and the Windows Store for the latest updates.
After arriving at the desktop, you can start using Windows 10. You can make further adjustments to your privacy settings by opening Start > Settings > Privacy.
If you are using Windows 10 for the first time, check out our tutorial to learn about the different parts of the interface. Also, check out our post-setup article for additional things you can do after completing the installation. Have a question about the OOBE? Leave a comment below, and we’ll look into it. Thank you for your great response, Comment Name * Email *
Δ Save my name and email and send me emails as new comments are made to this post.


![]()
