Ever been in a situation where you’ve accidentally erased an important file from your computer or a favorite song from your iPhone but don’t know how to undelete it and get it back? Or perhaps you’re working on something SUPER SECRET and need to (securely) wipe it from your system? Whatever the case, Piriform the makers of CCleaner (one of my favorite FREE applications), have another FREE application for restoring deleted files or improving security and permanently shredding them. Before we jump into the How-To, here’s a quick breakdown regarding all the cool features that come with this lovely little piece of Freeware from Piriform Software:
Recuva File Recovery – Features
Now, let’s take a look at How-To use Recuva to restore lost files from your computer or nuke them for good!
How To Recover Deleted Files Or Permanently Erase And Shred Them Using Recuva
Download Recuva Installer
The installation process is pretty simple, just Click Next > a few times but watch out on the page with the checkboxes.
Here at groovyPost, we are NOT fans of sneaky bundled crapware, but sometimes it’s a necessary evil to keep a good development team (Piriform) up and running. During Install you’ll need to Uncheck the Install Yahoo! Toolbar option. Who would want to install that?
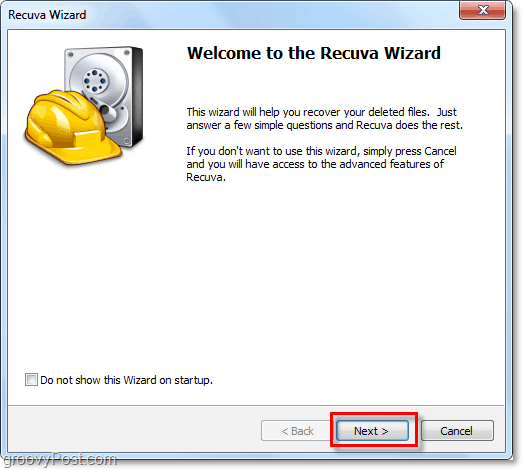
Once installation finishes, the Recuva wizard will launch. You can disable this if you like, but it can save you a lot of time, so I don’t recommend it. Click Next.
On the second page of the wizard, it wants to know what type of files you are looking to recover. If you want to display all or multiple file types, Select Other. Click Next to continue.
Next, you are asked where the files were located. This information is probably the most useful part of the wizard as choosing a particular location will save you a lot of time. This process is particularly the case if you are trying to recover deleted files from an external device, such as a phone, iPod, iPhone, USB Flash Drive, or even an external HDD. Once you’ve selected the appropriate location, Click Next.
On the last page of the wizard, you’ll have one more option that I like to call the Panic Button. You should only Check this box if you’ve already tried recovering the file you were looking for in normal mode, and it didn’t work. Click Start to begin the search.
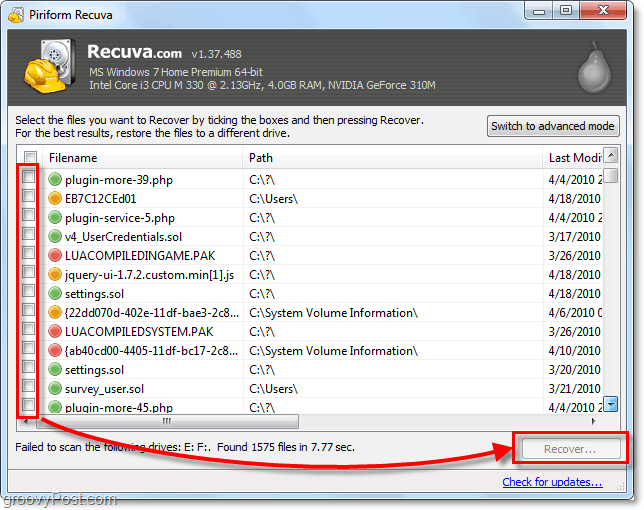
The scan should complete rather quickly. As soon as it finishes Recuva will display a list of all of the deleted files, it found which matched the type and location you selected in the wizard. From here you can Select a File and Click Recover to undelete it. Not all files found will be recoverable. However, I’ll explain more below.
9. A green circle next to a file indicates it’s in Excellent condition and recovery is very likely. A red circle indicates that the file is Unrecoverable because it is completely overwritten. An orange circle identifies the file that has partially overwritten, there is a chance of recovery, but it might contain some errors.
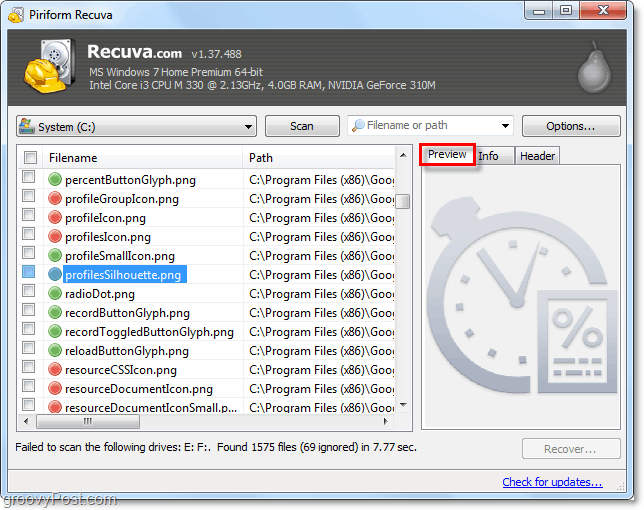
10. For most users, the essential functions will suffice, but to unlock the full potential of Recuva, you’ll need to Switch to advanced mode.
11. In advanced mode, you can view a preview image and other file information as well as perform new searches without going all the way through the wizard again.
12. Even further in Advanced mode, you can adjust multiple Options from settings that change the language to the way everything is viewed.
13. In the options menu if you view the Actions tab you can choose additional file types to show. If you want to go back as far as possible, Select to Show zero-byte files. Files with a size of 0 bytes won’t be recoverable, but it will give you more thorough history check of what has been on the hard drive system.
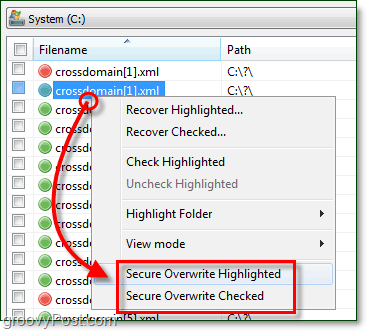
14. If you decide you want to securely wipe a file so that it will be completely unrecoverable, then simply Right-Click the File and Select Securely Overwrite Highlighted. Once the file overwrites, you’ll see a confirmation window.
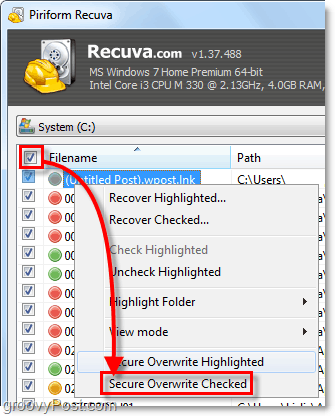
15. To securely erase multiple or all found files Click the Checkbox in the category bar near Filename, next Right-Click any File and Select Secure Overwrite Checked.
Thoughts, Questions? Drop a comment below!
- I ran Recuva to see what was still on my hard drive. There were several files that were not removed successfully. I was able to securely delete all of those files except for 2 of them. I don’t know why. I right click them and click (secure overwrite highlighted) on the file but it tells me (Status: Not Overritten). Any ideas about this?
- When I run Recuva, it tells me the all of the file names that I securely deleted. Is there a way to remove that info? If you wipe data with CCleaner and then immediately run Recurva, you might be able to recover some of the data but I would be shocked if you can recover everything. And if you wipe something then use the PC as normal the longer you wait the less chance you have of recovering the data because those drive sectors will be overwritten with new data. This is especially true if you use an app to wipe something with 3 or more overwrites… At that point, it will be nearly impossible to recover especially if you’re using an SSD drive since there is not head jitter. Close everything and reboot and try again. Be sure outlook does not open at boot. When I try to start a scan for music on F: Drive, I get the warning ” Failed to scan the following drives – F: unable to determine the file system type.” Then windows is inviting me to format Drive F: This I hesitate to do… What am I doing wrong? Thanks. RE »
- When I run Recuva, it tells me the all of the file names that I securely deleted. Is there a way to remove that info? It appears that the file NAMES remain in a separate list called the Master File Table. See this note in Piriform’s notes on Recuva on their web site »> “Secure overwrite does not affect file names, which continue to exist in the MFT (Master File Table). In order to overwrite names of deleted files, please use the Wipe MFT Free Space option in CCleaner.” So I presume that one additional step that a utility such as “Recuva” SHOULD take is to wipe any file names in the MFT that no longer have files attached to them. Instead, in this case you need to use comething like Ccleaner to wipe the MFT. This would also free up a bit of HDD space and perhaps make things run a bit faster, as those names would no longer take up space in the MFT. Thanks to the author and everyone contributing to this topic! Comment Name * Email *
Δ Save my name and email and send me emails as new comments are made to this post.


![]()
