Note: If you also want to remove the icon from your desktop, check out this article here
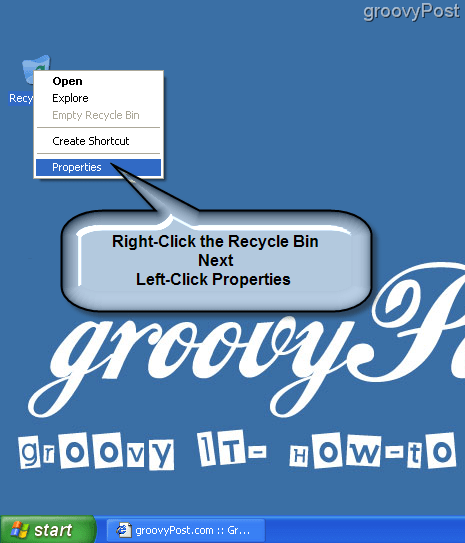
- On your desktop, right-click the Recycle Bin icon, left-click on Properties.
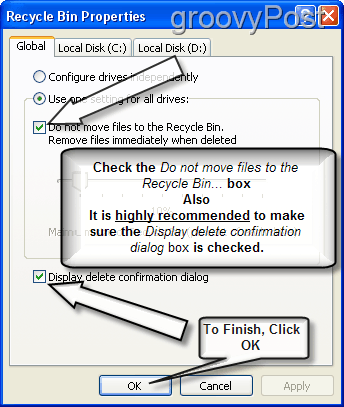
Once you’ve clicked Properties, a window will appear called Recycle Bin Properties. By default, it will open on the Global menu tab. Changing the settings under this menu is recommended; however, if you wish to configure each drive separately follow these same steps for each drive. 2. Check the empty white box with the dialog “Do not move files to the Recycle Bin. Remove files immediately when deleted.” Optional: Check the box with the dialog “Display delete confirmation dialog.” Click OK to save settings. Click OK to save settings.
Once configured, when a file is deleted it will no longer be moved to the Recycle Bin; instead, it will be permanently erased (from a consumer standpoint.) Comments? Questions? Comment Name * Email *
Δ Save my name and email and send me emails as new comments are made to this post.
![]()
